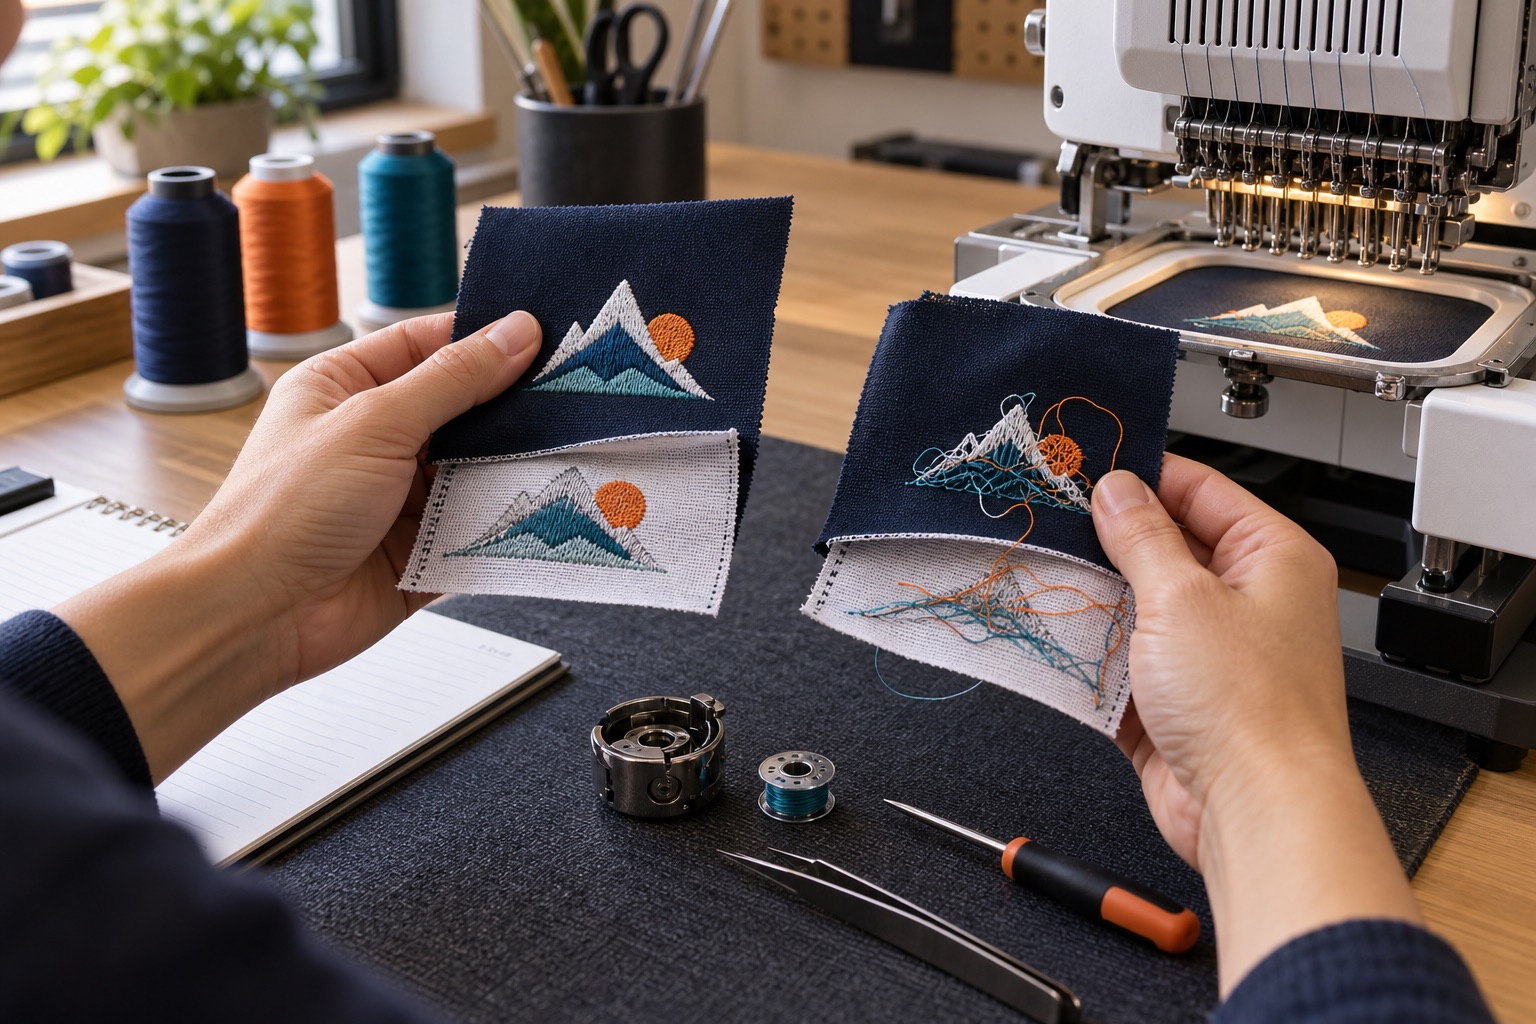
Thread tension problems are easier to solve when you change one variable at a time. Thread path, needle condition, bobbin setup, design density and material stability can all create similar symptoms.
Inspect the thread path first
Check that the upper thread follows the intended guides and tension points, with no crossed paths or snags. Confirm the spool feeds smoothly and the thread is suitable for the needle and application.
Rethreading the affected needle from the beginning is often faster than adjusting several tension controls at once.
Check needle and bobbin condition
Replace a bent, dull or damaged needle and confirm its orientation. Inspect the bobbin path, case cleanliness and consistent bobbin supply according to the machine instructions.
Lint or a poorly seated bobbin can cause irregular tension that appears and disappears.
Separate design issues from machine issues
If the problem occurs only on one design or material, review density, stitch length, underlay, backing and hooping. If it follows one needle position across several designs, focus on that thread path and needle station.
Record the test result after each change so the original condition is not lost.
- Rethread the affected path
- Replace and orient the needle
- Inspect bobbin and case
- Check hooping and stabilizer
- Test a known design
- Adjust gradually and document changes
Create a known-good test
Keep a simple test design and stable material combination for diagnosis. It gives the operator a consistent reference when customer files, fabrics and threads vary.
Machine configurations, commercial terms and support scope vary. Put the agreed details in your quotation and configuration sheet before ordering.