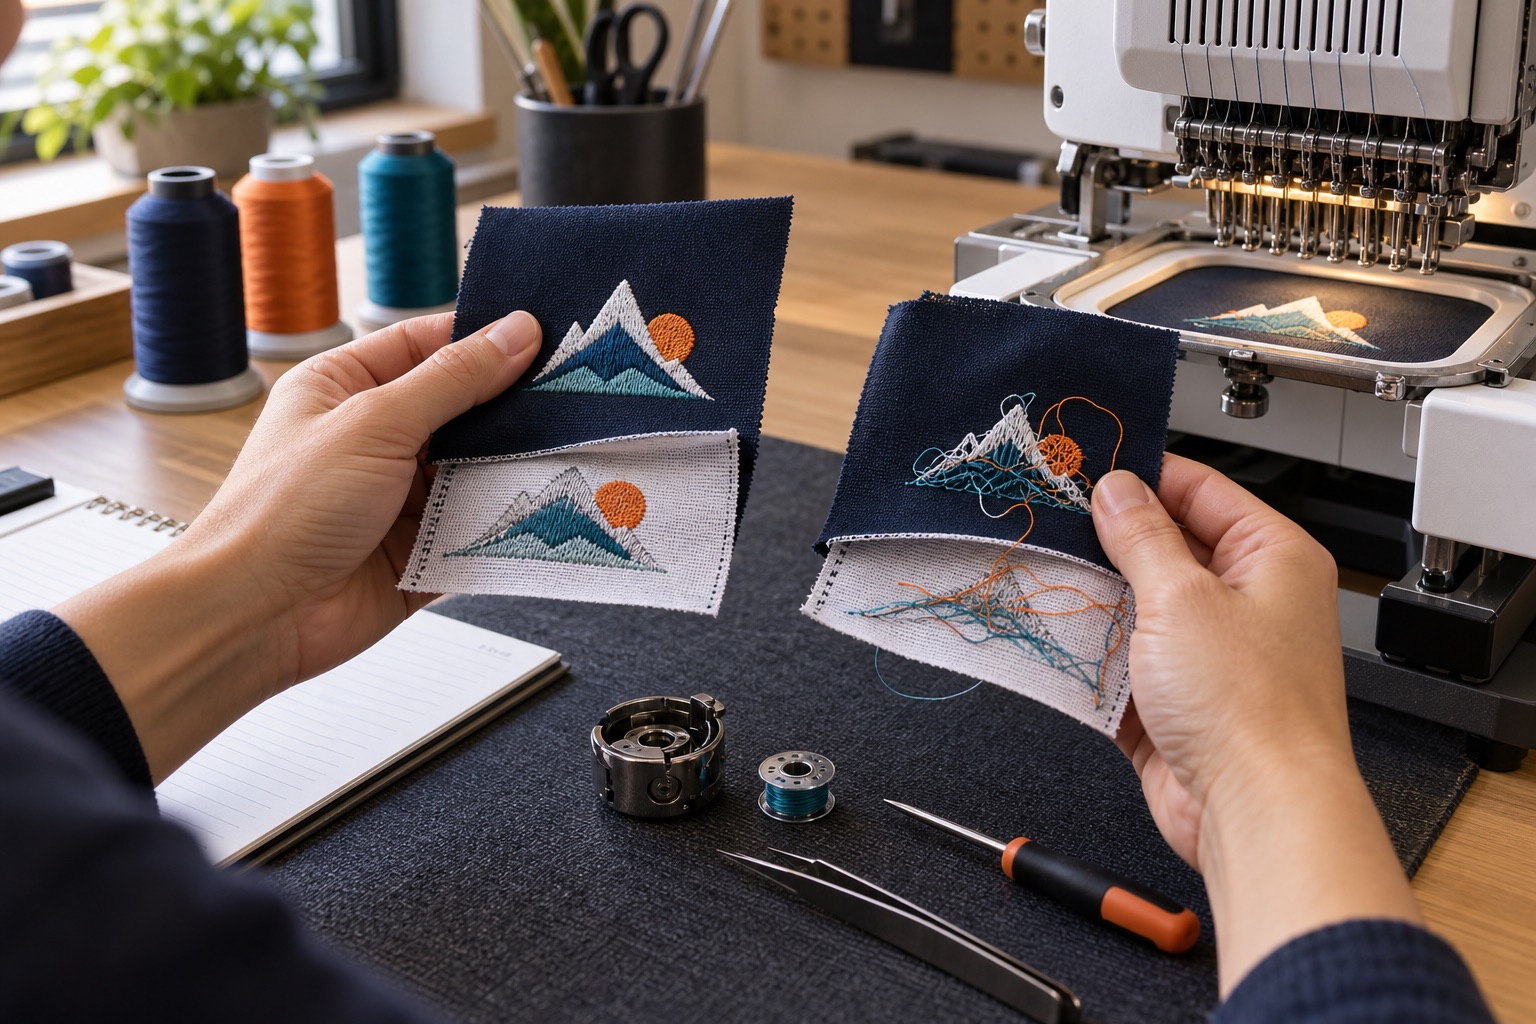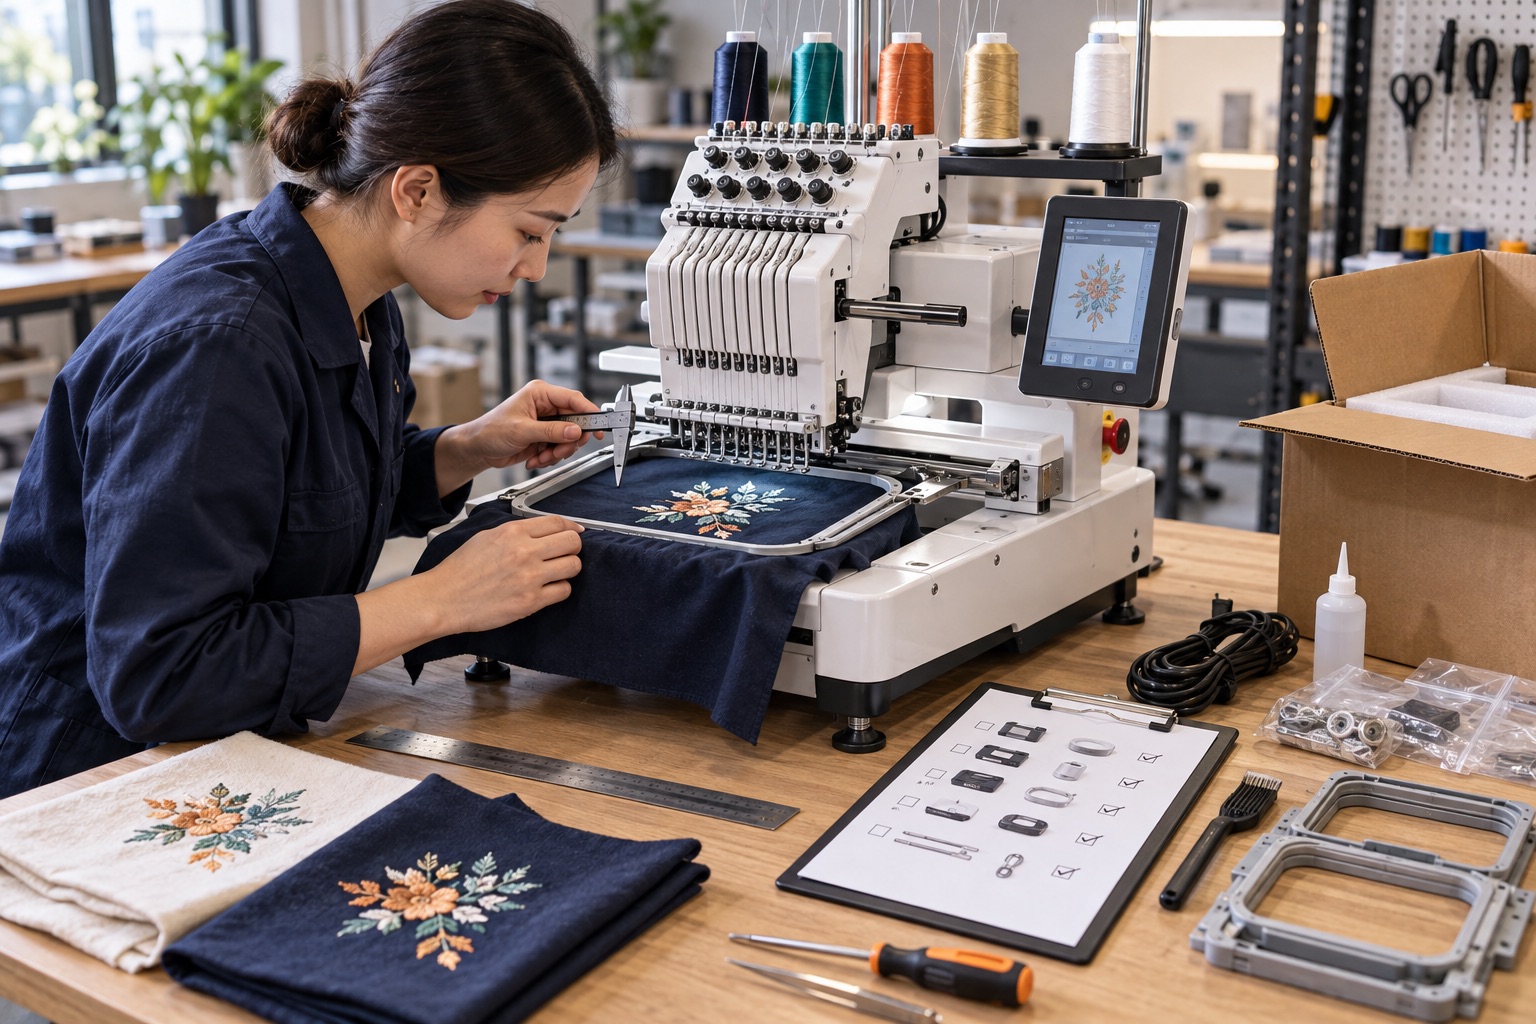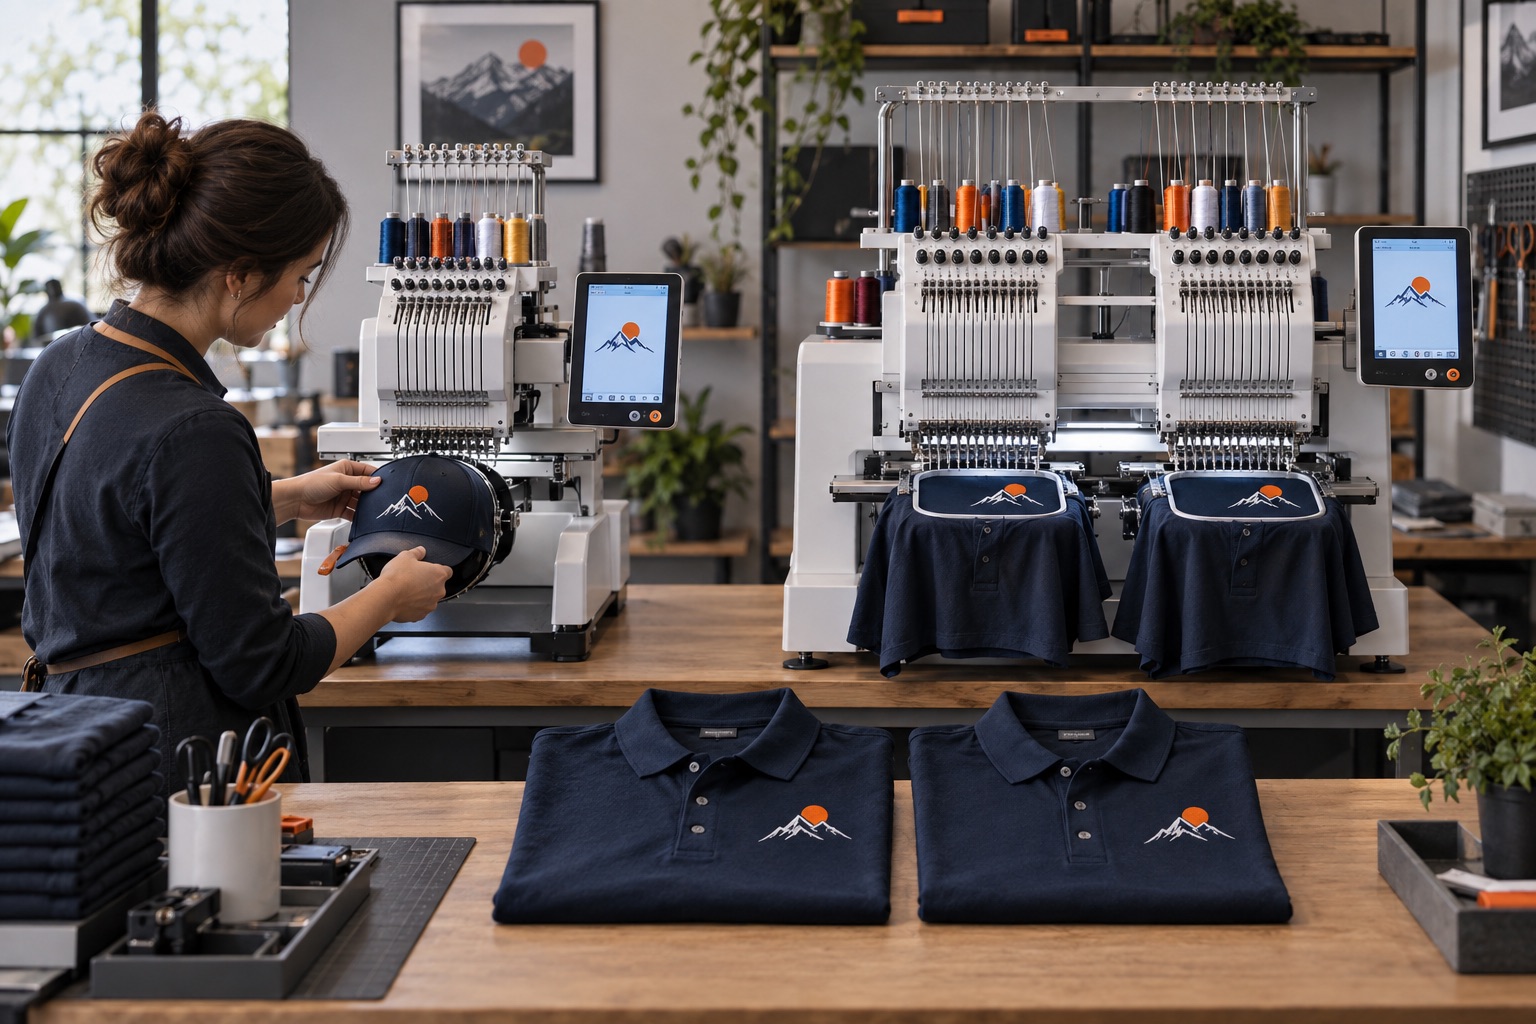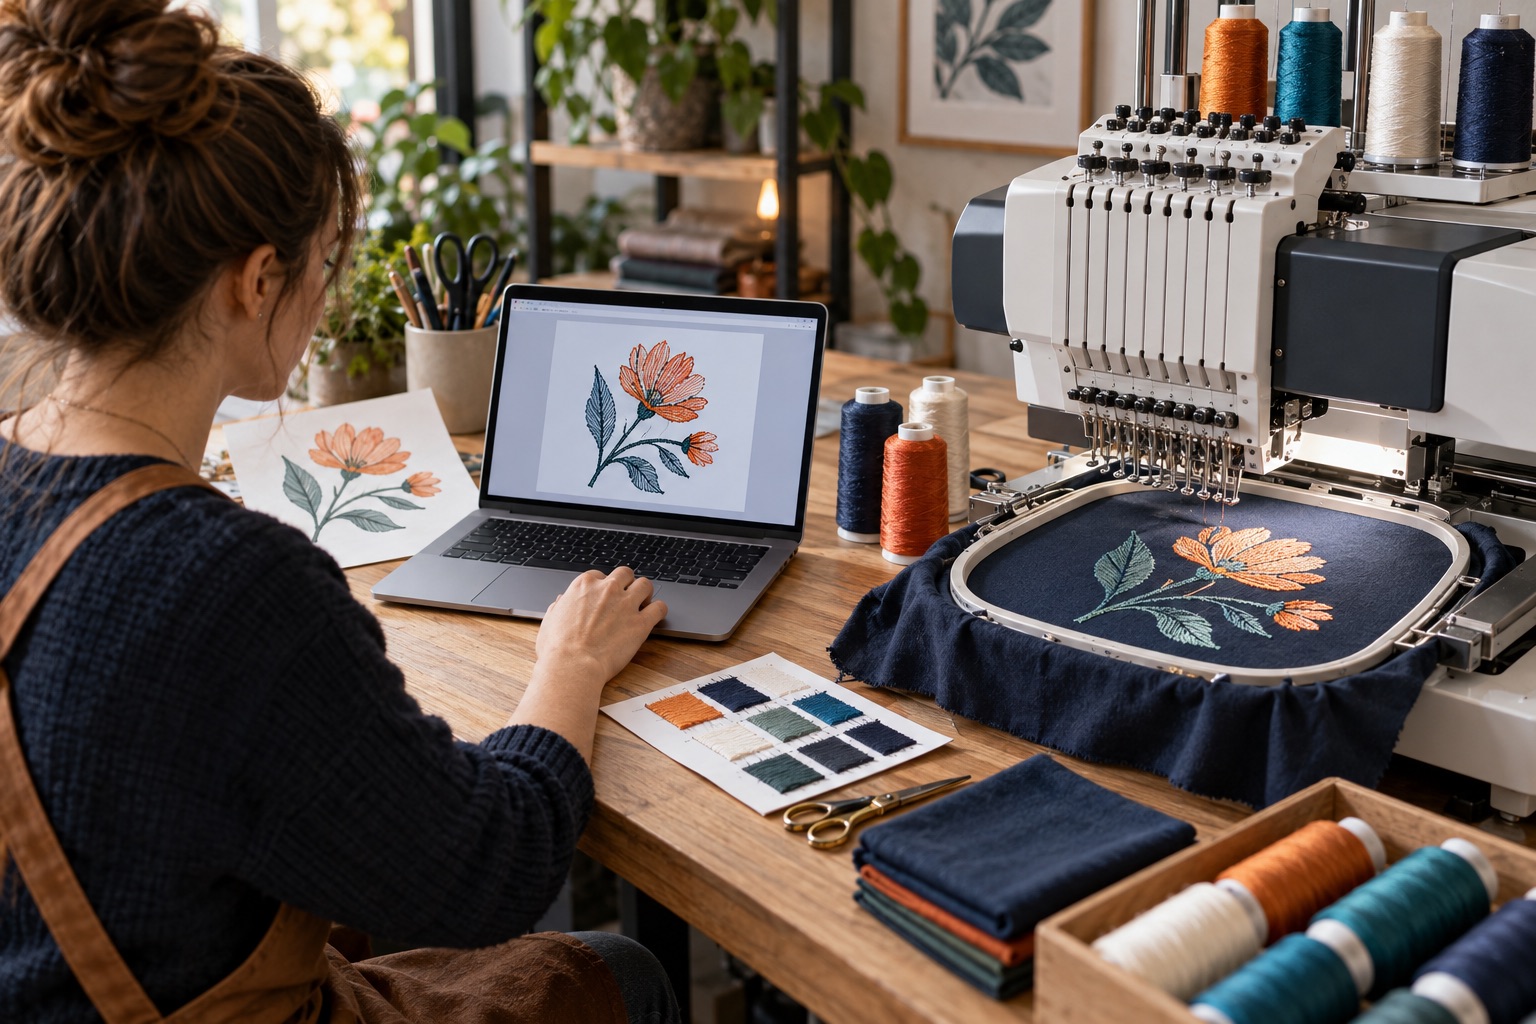
A logo image is not yet a machine instruction file. Digitizing converts artwork into stitches, including path, density, underlay, trims and color order for the chosen material and size.
Artwork and stitch files are different
Vector or high-resolution artwork describes the visual design. A machine file describes how the embroidery head should move and when it should change color or trim.
Simply converting the file extension does not create a well-planned stitch sequence.
Digitize for the product
The same logo may require different settings for a cap, polo shirt, fleece jacket or patch. Material stability, nap, stretch and the direction of the design all influence underlay and density.
Provide the final embroidery dimensions and product details to the digitizer before the file is prepared.
Confirm machine compatibility
Ask which machine file formats the control system can read and how files are transferred. Keep the original digitizing source file in addition to the exported machine file so later edits are easier.
Use a clear naming system that records customer, design size and version.
Test before customer production
Run the design on the actual or comparable material, then inspect registration, coverage, small text, edges and fabric distortion. Adjust the file and stabilizer together rather than treating every problem as a machine setting issue.
- Final artwork and embroidery size
- Product and material
- Thread color plan
- Machine file format
- Source file retention
- Approved sew-out sample
Machine configurations, commercial terms and support scope vary. Put the agreed details in your quotation and configuration sheet before ordering.