The working area defines the largest field the machine can reach, but the usable design size also depends on the hoop, product shape and placement. Choosing correctly starts with measurements from real customer work.
Measure the design, not only the product
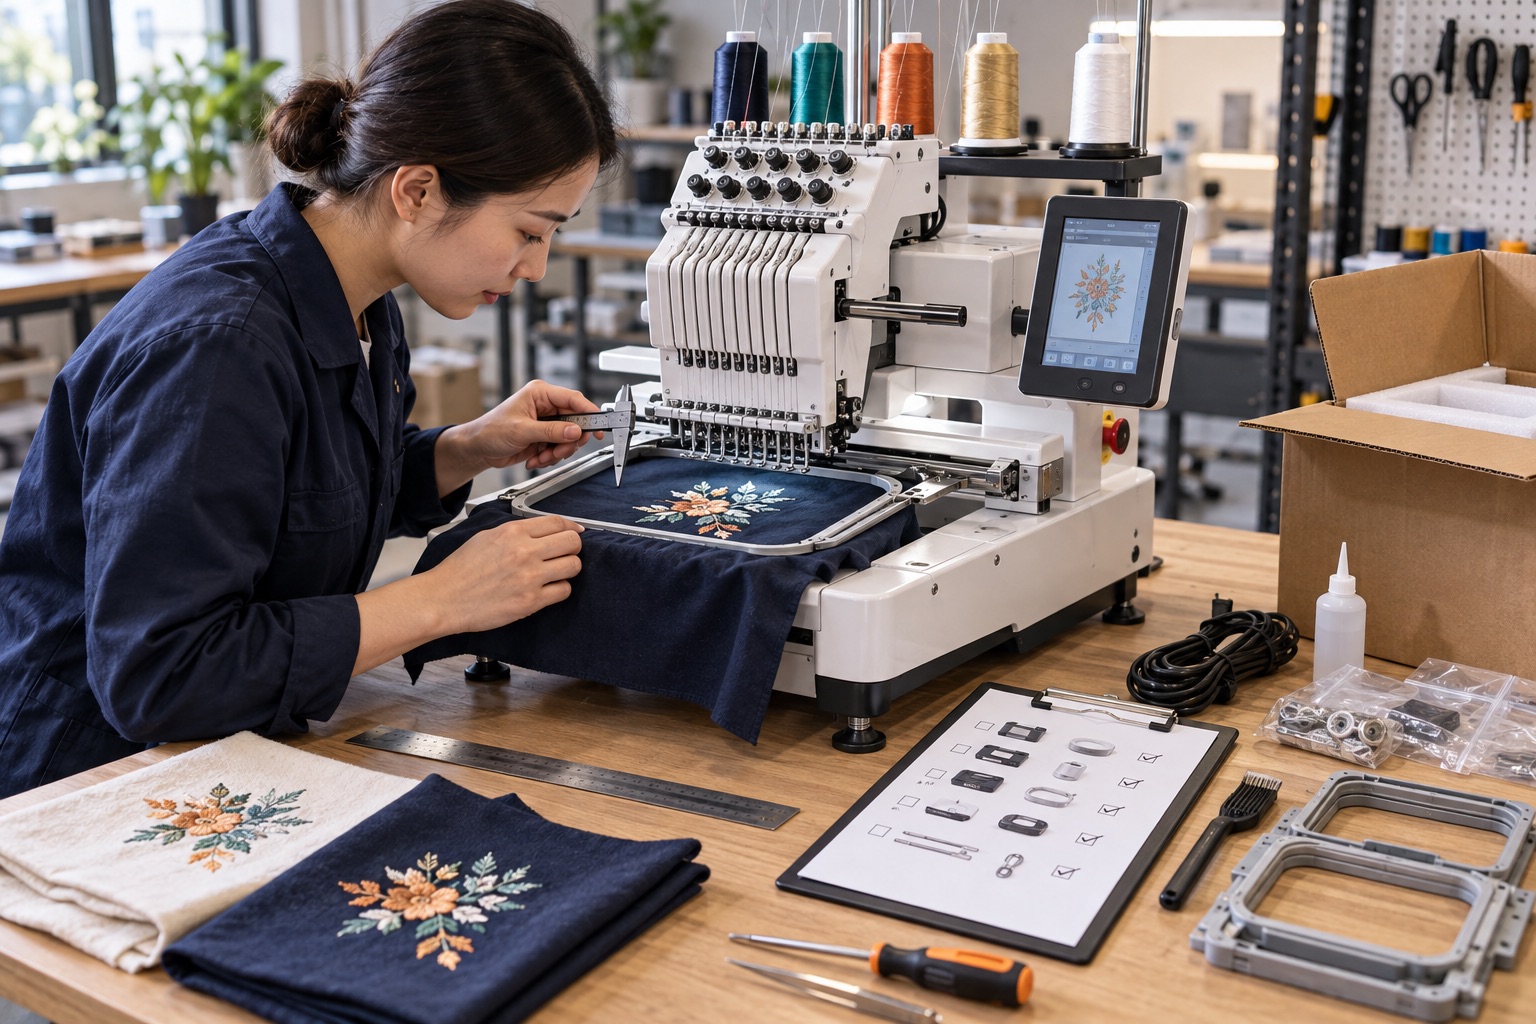
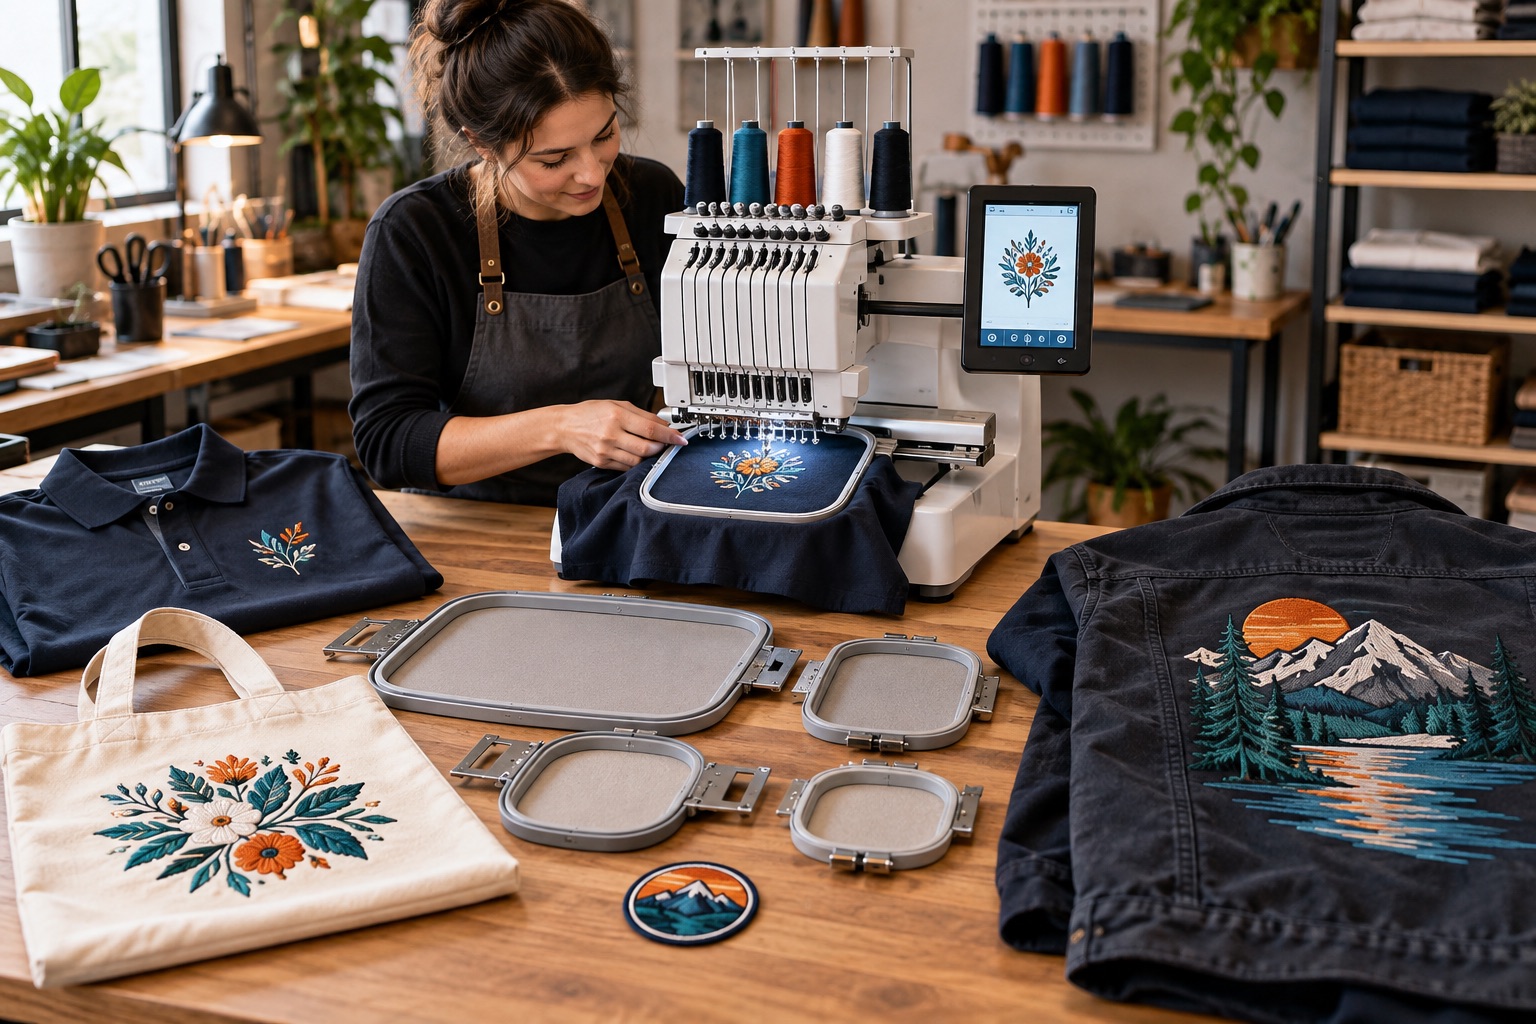
Record the width and height of your largest likely embroidery designs. A jacket back may need a much larger field than a chest logo, while a bag may be limited by seams and access even when the artwork is small.
Add reasonable setup clearance instead of choosing a field that matches the design dimensions exactly.
Match hoops to applications
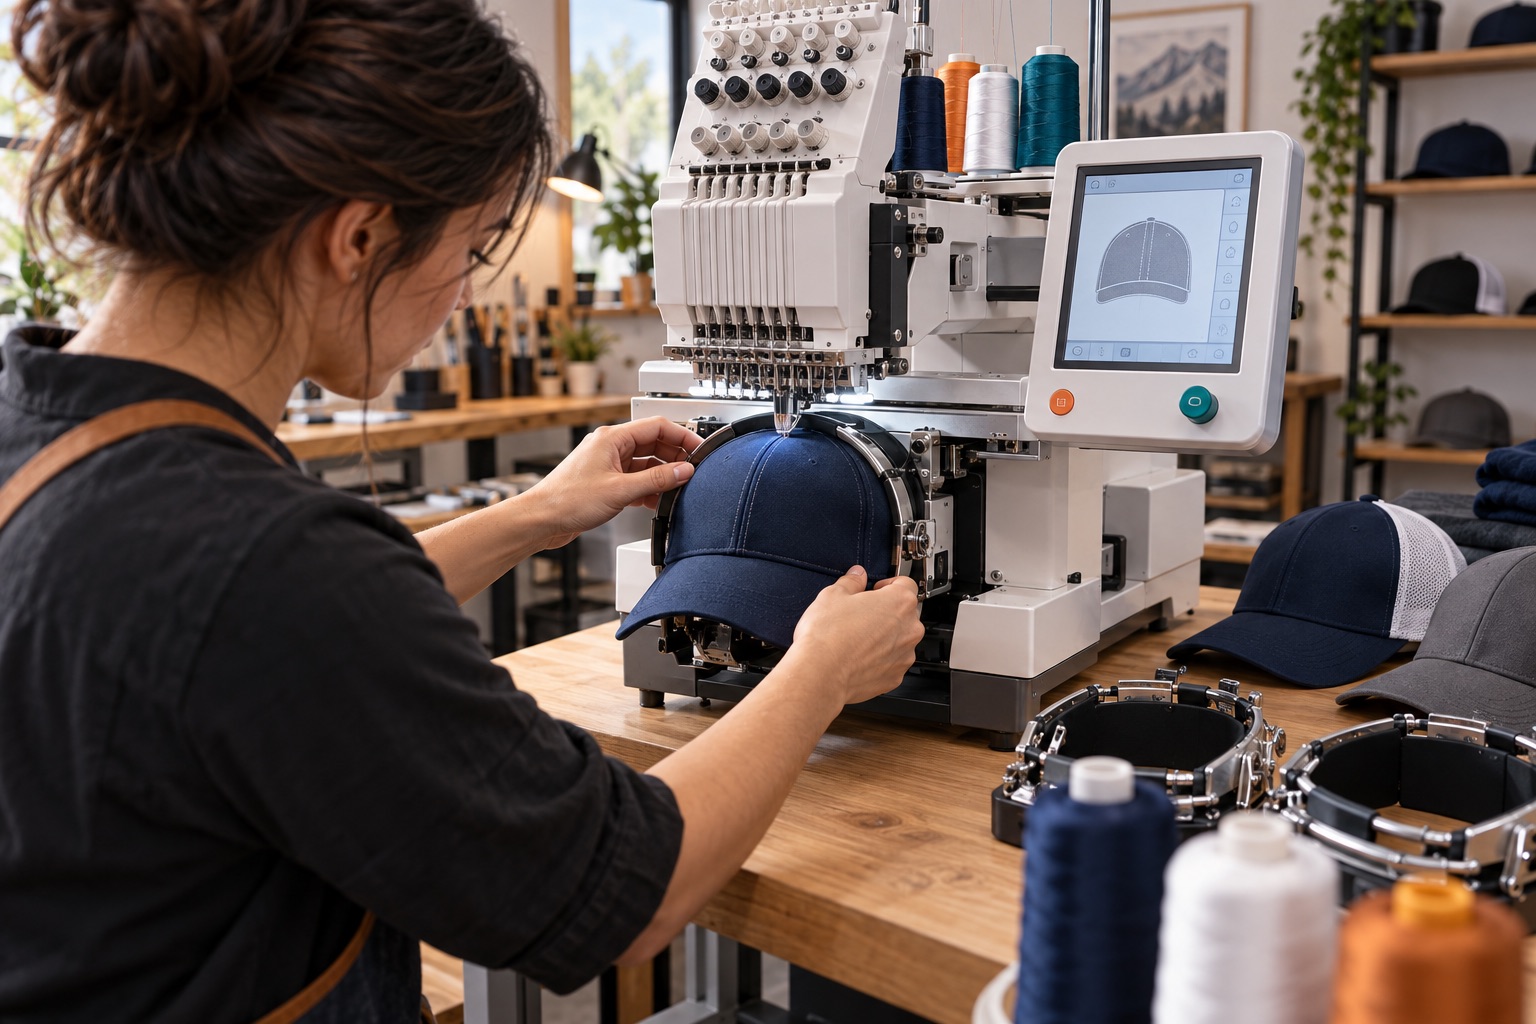
Ask for the inside dimensions and usable sewing area of every included hoop. Confirm which frames are supplied for garments, caps and tubular work. Product photos sometimes show optional frames that are not part of the standard package.
If you use magnetic or specialty frames, confirm compatibility with the machine and the intended garment.
Consider access around the needle
Finished products must be positioned so excess material does not interfere with moving parts. Pockets, shoes, bags and small tubular pieces may need a special frame or narrow operating arm.
Send product photos from several angles and mark the embroidery location. This gives the supplier enough information to check clearance.
Avoid paying for unused size
A larger field can increase flexibility, but it may also increase machine size and cost. Select the smallest field that comfortably covers the work you plan to sell, then confirm the overall machine dimensions fit your doorway and workspace.
- Largest design width and height
- Embroidery placement on the product
- Required hoop types
- Machine footprint and access
- Future product plans
Machine configurations, commercial terms and support scope vary. Put the agreed details in your quotation and configuration sheet before ordering.